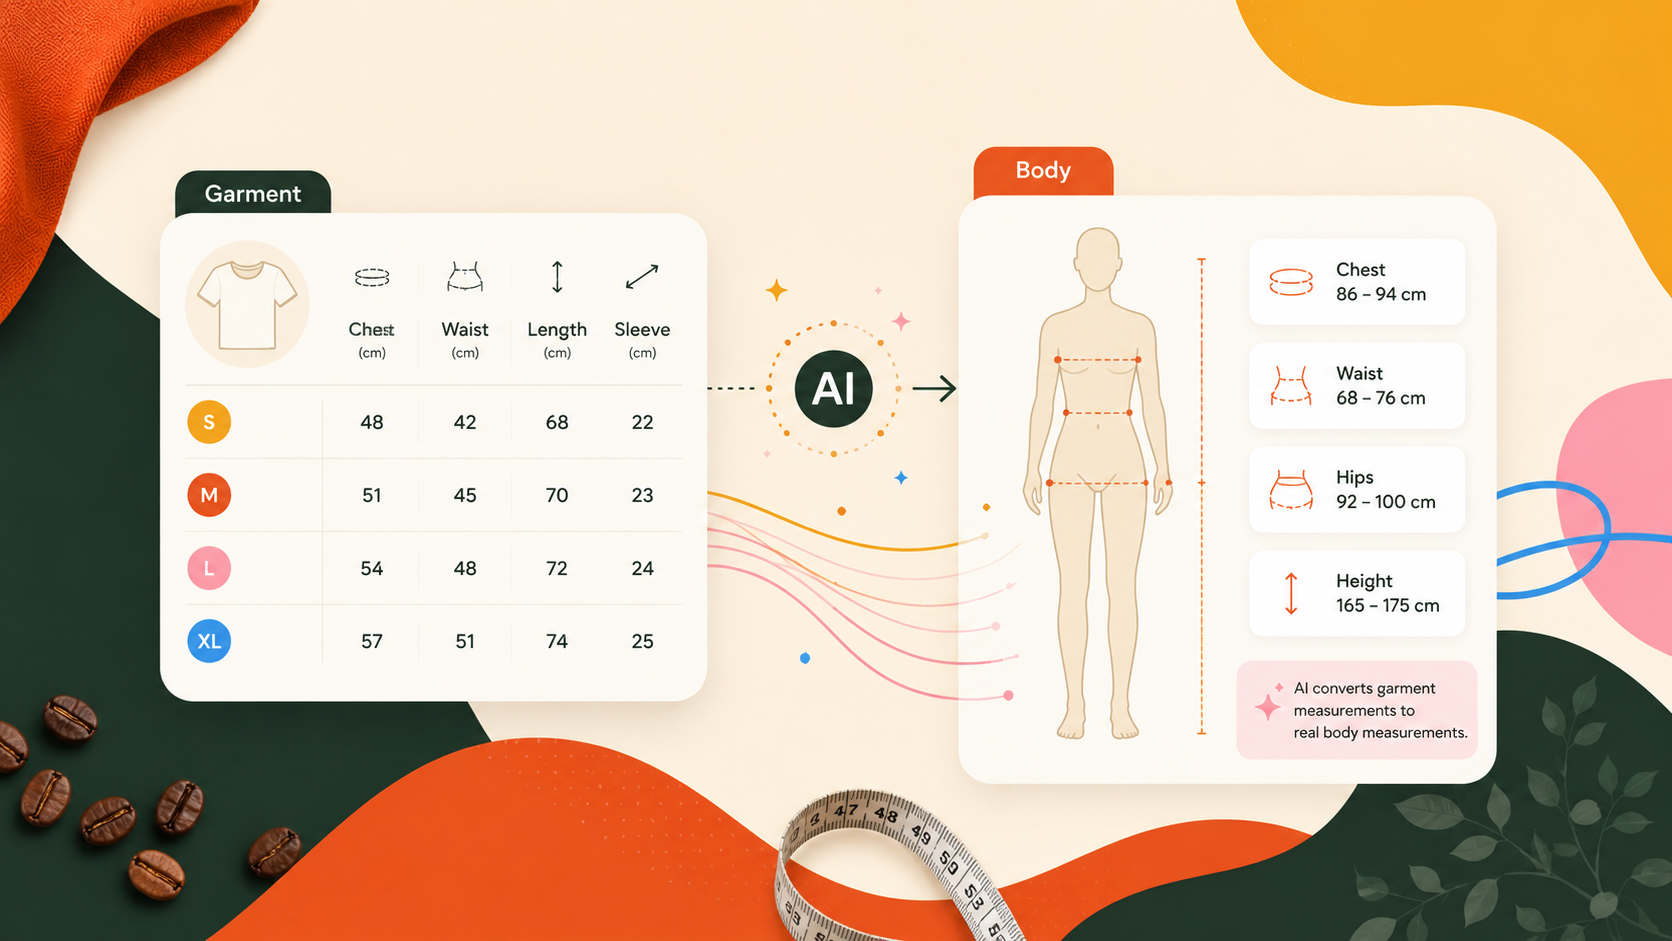
You can convert garment measurements to body measurements in about 2 minutes with a free ChatGPT prompt. This guide gives you the exact prompt and the four steps to update your Shopify size chart.
Why do garment measurements confuse shoppers?
Shoppers measure their body, not the product. Most Shopify apparel stores show garment measurements — the dimensions of the fabric laid flat. For example: Chest: 52 cm. Waist: 44 cm. Length: 72 cm.
Shoppers think in body measurements instead: their own chest, waist, and hips. When a shopper sees “Chest: 52 cm” on your size chart, they cannot tell if the shirt fits a 96 cm chest or a 104 cm chest.
This gap between what your chart shows and what your customer needs is a major reason shoppers pick the wrong size or do not buy at all.
What is the difference between garment and body measurements?
Garment measurements are the dimensions of the product itself. Your manufacturer provides these. They measure the fabric: half-chest width, sleeve length from seam to seam, waist width laid flat.
Body measurements are the dimensions of the person who wears the product. A shopper wraps a tape measure around their chest and gets 98 cm. That is a body measurement.
The link between the two is the garment’s ease — the extra room built into the design for comfort and fit. A relaxed-fit t-shirt might add 10-15 cm of ease to the chest. A slim-fit dress shirt might add only 4-6 cm.
To convert between them, you need to know the ease values, double any half-measurements, and adjust for the garment type. The math is not hard, but it takes time. Most merchants never do it.
The result: shoppers see numbers they cannot use. They feel unsure, so they leave or guess a size.
How to convert garment measurements to body measurements with ChatGPT
ChatGPT can convert your full size chart from garment to body measurements in about 2 minutes. The free version works. You do not need spreadsheet formulas or manual math.
Follow these four steps.
Step 1: Get your size chart
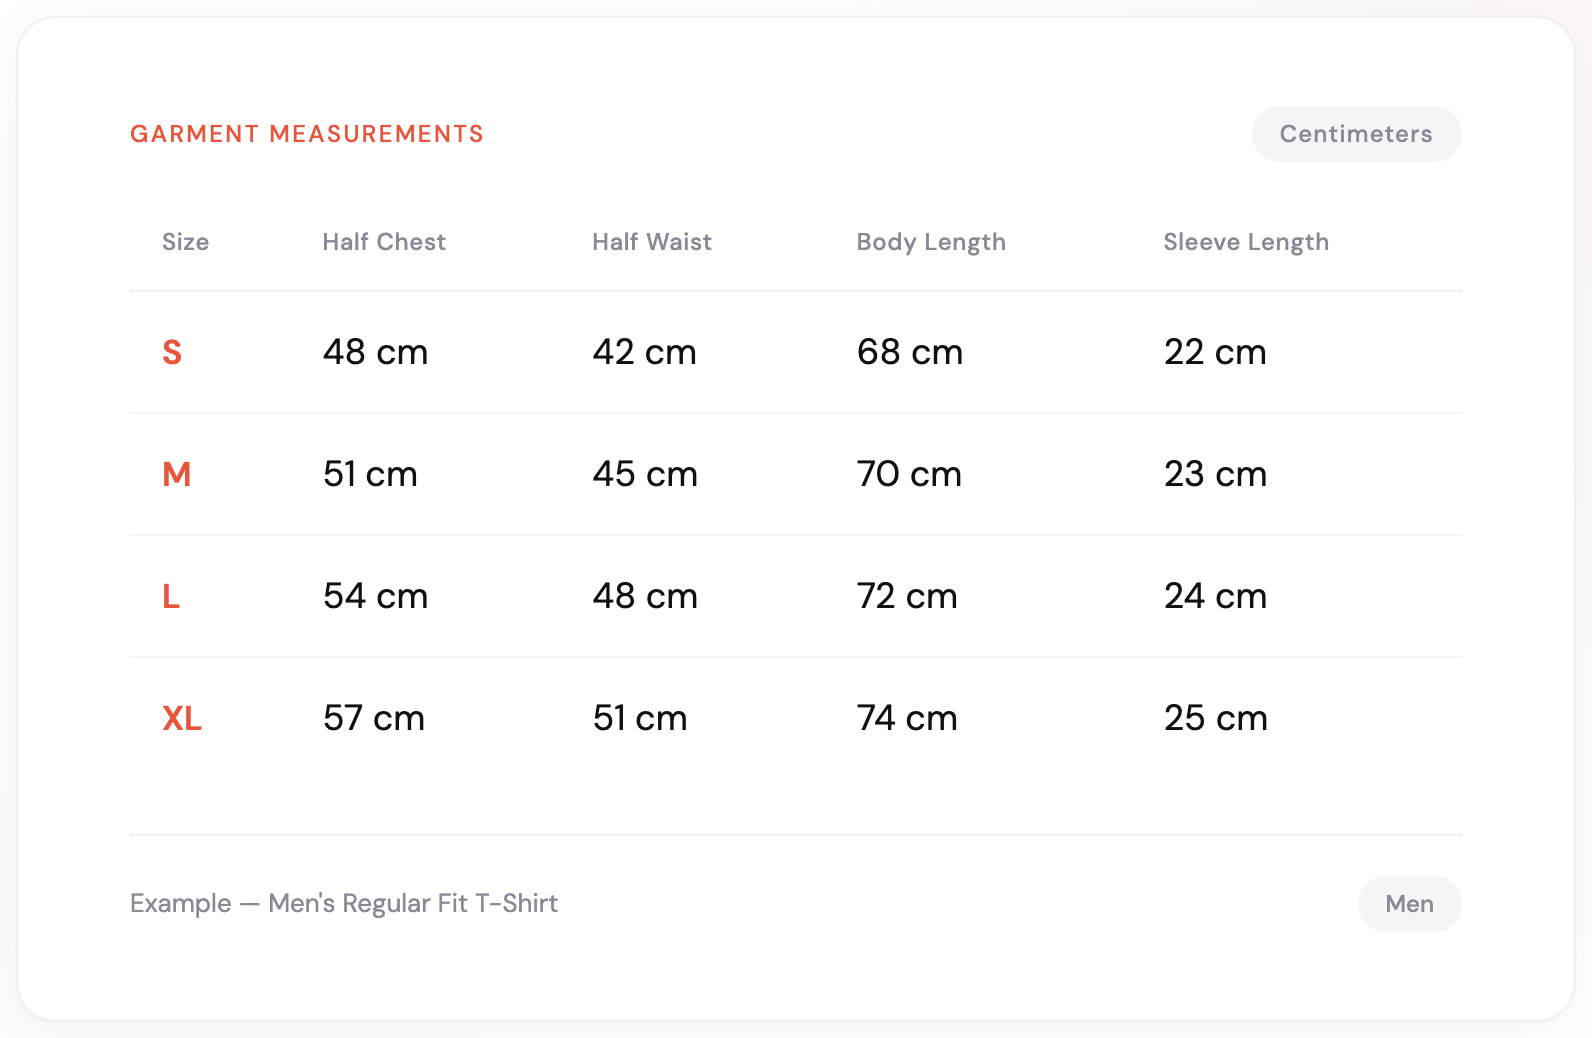
You probably already have garment measurements from your manufacturer or supplier. They may be in a PDF spec sheet, an Excel file, or a photo of a printed chart. Take a screenshot or photo of it. That is all you need.
Here is an example of a typical garment measurement table from a manufacturer:
Step 2: Use this ChatGPT prompt
Open ChatGPT (the free version works), attach your size chart image, and paste this prompt:
Analyze the attached size chart image. This chart contains GARMENT
measurements (the physical dimensions of the product).

Convert it into a BODY measurement chart — the measurements a
shopper would take on themselves with a tape measure.

To do this:
1. Detect whether the values are half measurements (laid flat) or
 full circumference. If half, double them first.
2. Subtract the appropriate ease allowance for this type of garment
 and fit style to get the body measurements.
3. Keep length measurements (body length, sleeve length, inseam)
 unchanged — they don't need ease adjustment.
4. Output a clean, formatted body measurement table.
5. Below the table, list:
 - The measurement unit you detected (cm or inches)
 - The gender you assumed
 - The garment type and fit style you assumed
 - The ease values you used for each measurement
6. If anything is ambiguous or looks unusual, flag it so I can
 correct it.
ChatGPT reads the image, detects the garment type, and returns a body measurement table. This usually takes under 30 seconds.
Tip: If the result does not match your garment’s fit, tell ChatGPT: “This is actually a slim-fit dress shirt — adjust the ease.” It recalculates right away.
Step 3: Review and adjust the ease values
ChatGPT outputs a body measurement table together with the ease values it assumed. Review them. If your garment has an unusually loose or tight fit, tell ChatGPT to adjust:
“This is a slim-fit dress shirt. Reduce the ease by 3 cm on chest and waist.”
It recalculates right away. Repeat until the numbers match how your garment actually fits.
Step 4: Update your Shopify size chart
Copy the body measurement table into your Shopify product page. You can use a size chart app, a custom page, or HTML in your product description. Your shoppers now see numbers they can use.
Label the table clearly: add “Body Measurements” as the table header. Shoppers then know these are the dimensions to measure on their own body.
Video: watch the full process
This short walkthrough shows the full process, from garment measurements to a finished body measurement chart in under 2 minutes.
Why do body measurements matter for your store?
A body measurement chart helps shoppers choose the right size, and that affects your results directly:
- Fewer wrong-size orders. When shoppers see measurements they understand, they pick the right size more often.
- Lower return rates. Size-related returns are the #1 reason shoppers send apparel back. A clear size chart is the most direct way to prevent them.
- Less support work. “What size should I get?” is the most common question before purchase. A body measurement chart answers it before shoppers need to ask.
- Higher conversion. Shoppers who feel confident about sizing are more likely to buy, and less likely to leave the product page.
What are the limits of a static size chart?
Converting garment to body measurements is simple in concept but slow to do by hand. Most merchants know they should do it. Most never find the time. This prompt removes that barrier.
Still, a static size chart — even a good one — asks shoppers to measure themselves and read a table. The SmartSize size quiz goes one step further: instead of asking shoppers to compare their body to a table, a fit quiz gives them a personal size recommendation in seconds. No tape measure needed.
→ See the SmartSize fit quiz live on our demo store
For today, this prompt turns your size chart from confusing to useful in 2 minutes. Your shoppers and your return rate will show the difference.
Summary: convert your size chart in 4 steps
- Get your garment measurements from your manufacturer.
- Paste them into ChatGPT with the prompt above.
- Review the ease values and adjust them for your garment’s fit.
- Update your size chart with body measurements and label it clearly.
That is it. Two minutes, and your size chart actually helps your customers.
Want to go further? SmartSize gives each shopper a personal size recommendation — no tape measure needed.
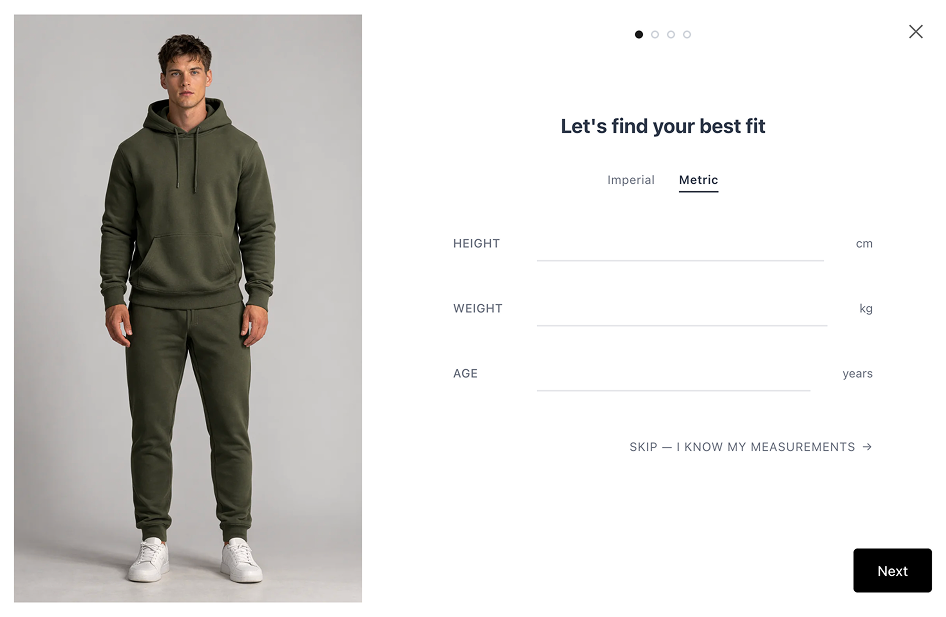
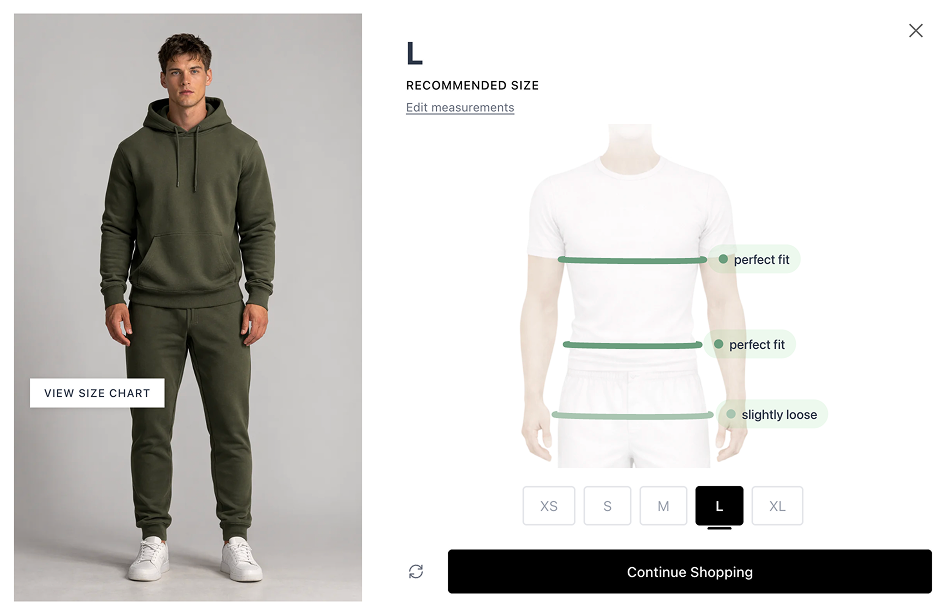
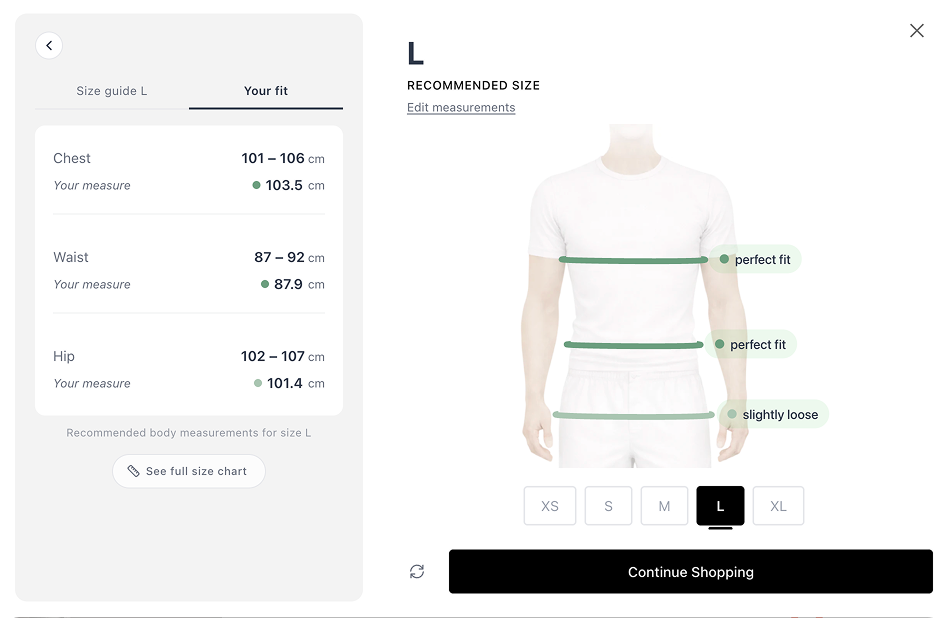
SmartSize is Built for Shopify — Shopify’s top-tier badge for apps that meet the highest bar on performance, admin integration, and merchant experience. It is fast in the admin, fast on the storefront, and needs no theme code to maintain.
 Try SmartSize for free
Questions? Reach out at [email protected].
— Philip, co-founder of SmartSize